Since August 2023, teachers have been able to create their own courses.
To create a new blank course, go to your dashboard:
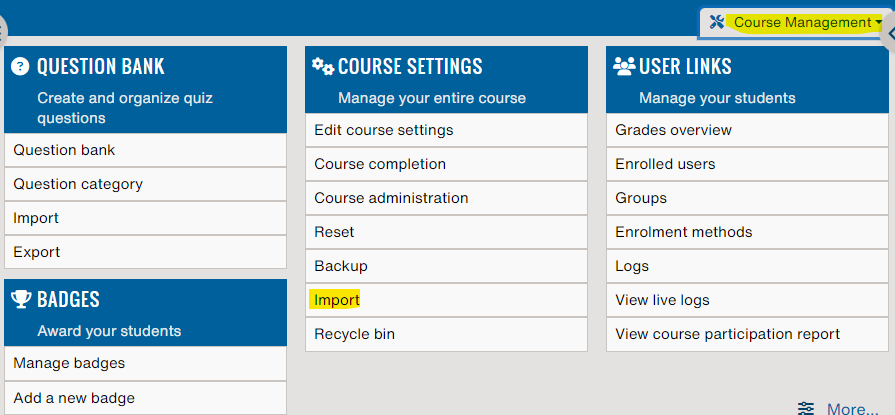
1. Click on Course management in the top right-hand corner
2. Click on the Create a blank course button
3. Define the full course name as follows: year created, underscore, school name, underscore, course title. (example: 23_HE-ARC_My course)
4. Fill in the abbreviated name with the year and title of the abbreviated course to make it easier for students to find.
5. Also select the appropriate category in which your course is given.
Once you have completed the fields, the procedure varies according to your status at the HES-SO :
- If you are officially a teacher at the HES-SO, you can click on request the creation of a course. Your course will be created and you can click on Continue.
- If you are not officially a teacher (e.g. assistant, external lecturer, etc.), you must justify your request. Click on Request a course. The platform administrators will then review your request and authorise the creation or not.
There will be no archiving until further notice. The course retention strategy will be announced in due time by the schools.
Since August 2023, all course spaces were archived. Since that date, all teachers have been able to restore their own courses.
To duplicate a course from a previous year, go to your dashboard:
1. Click on Course management in the top right-hand corner
2. Click on the Restore an archived course button
3. Select the course(s) you wish to restore by ticking the Select for restoration box.
Tips :
- If several of your teaching colleagues were enrolled in the old instance, it is advisable to tick the Restore user data in the course box. You will then need to clear the course of students.
- If you are the only teacher enrolled in the course, do not tick the Restore user data in the course box. Students will not be enrolled in the new instance.
4. When you have ticked the required options, click Send.
5. The course will be restored within 24 hours.
If you have ticked the box Restore user data in the course, you still need to delete the old students from your course.
To reset your course, follow these steps from within your course:
1. Click on Course management
2. Click on the Reset tab in the middle column
3. At the bottom of the page, click on Default selection
4. Reset the course
5. When the reset is complete, click on Ok
Note: in the event of multiple restores of the same course, please contact our helpdesk directly.
Easily copy your courses (in case of errors, contact the support)
-
First, you can create a new empty course by following this tutorial.
-
Second, open the new empty course.
-
Third, simply go to the course administration and launch an import as shown below :
- Search for the old course from which you want to retrieve resources and activities, once found, select it.
- If you want to import all the course content, click on "Jump to final step"
- If you want to choose only part of the old course, use the next button to navigate to the resource and activity selection page. You can uncheck or check as you wish the resources or activities to be included in the new course. To select an activity or resource within a section, you must select the section title. Otherwise, the selection is locked.
- Once everything is selected, you can use the next button to navigate to the end of the steps for importing into the new course.
- Dont forget to define the other teachers in the new course if needed : Participants - Enroll users
- You'll have to define a new enrolment key : How to set an enrolment key
To delete a course, access the course settings via Course management - Edit course settings or the link Settings at the top of your course. Simply change the category to "Courses to be deleted" at the very bottom of the list. We will purge the courses in this category on a regular basis.
Teachers can view, activate, add and delete enrolment methods within their course via Course administration > Enrolment methods.
There are two main ways to register for the Cyberlearn course space:
1. Self-registration: students register by entering the registration key provided by the teacher.
2. Manual registration: the teacher registers students individually in the course area.
It's
also possible to use the "Enroll by list" option: by clicking on Participants at the top
of the course, then choosing from the Enroll by list drop-down list, you
can enroll students by entering their email address. All you need to do is
enter one email address per line. TAKE CARE : the emails you enter have to be the same than the one used in the SWITCH EDU-ID account (the system will mention if an error occurs).
The teacher can define or modify the enrolment key via Course administration > Enrolment methods. Then click on the cogwheel to the right of Self-enrolment (Student) and view/edit the Enrolment key field.
Tip: before the start of the first class, the teacher can send the course access link and registration key to all students.
The enrolment key exists to unlock the content of a course space when a student visits the course page for the first time. It acts as a password to secure a course space.
The teacher can define or modify the enrolment key via Course administration > Enrolment methods. Then simply click on the cogwheel to the right of Self-enrolment (Student) and view/modify the Enrolment key field.
Tip: before the start of the first lesson, the teacher can send the access link to the course space together with the enrolment key to all his/her students.
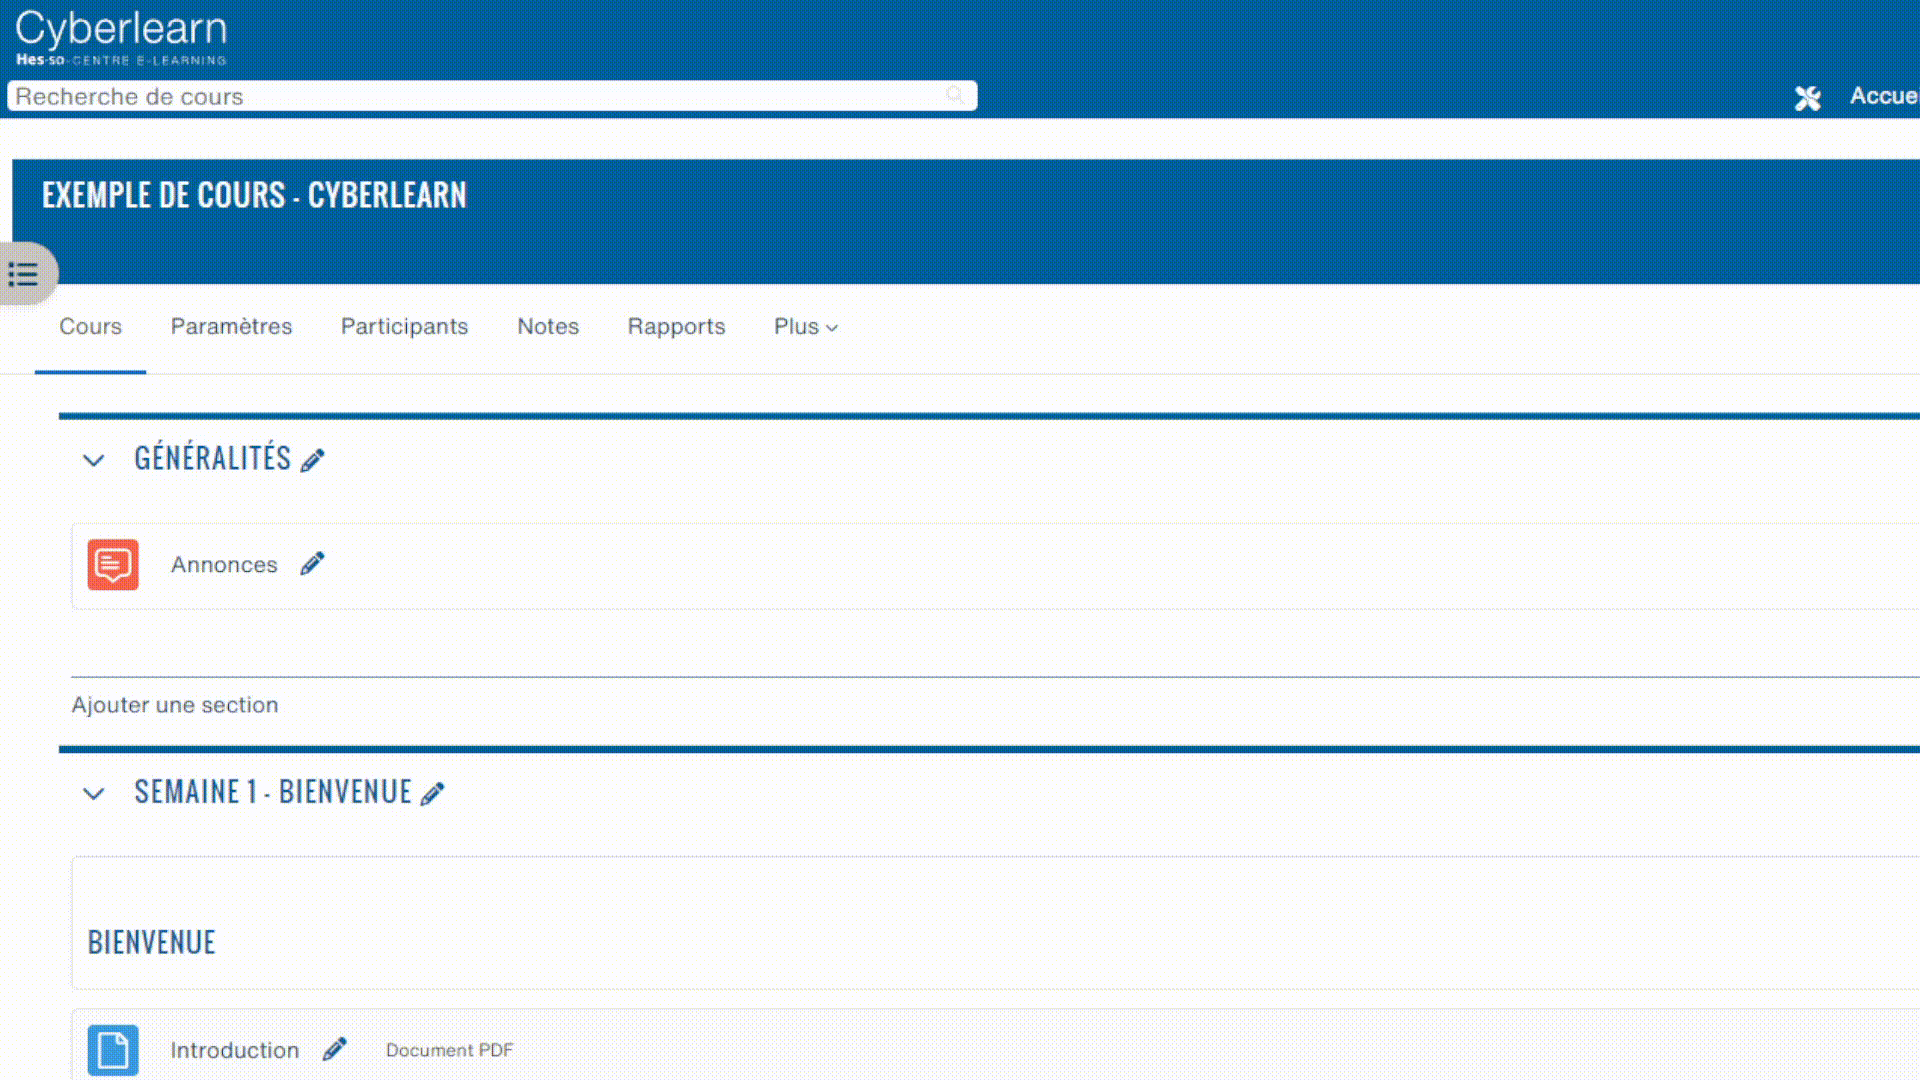
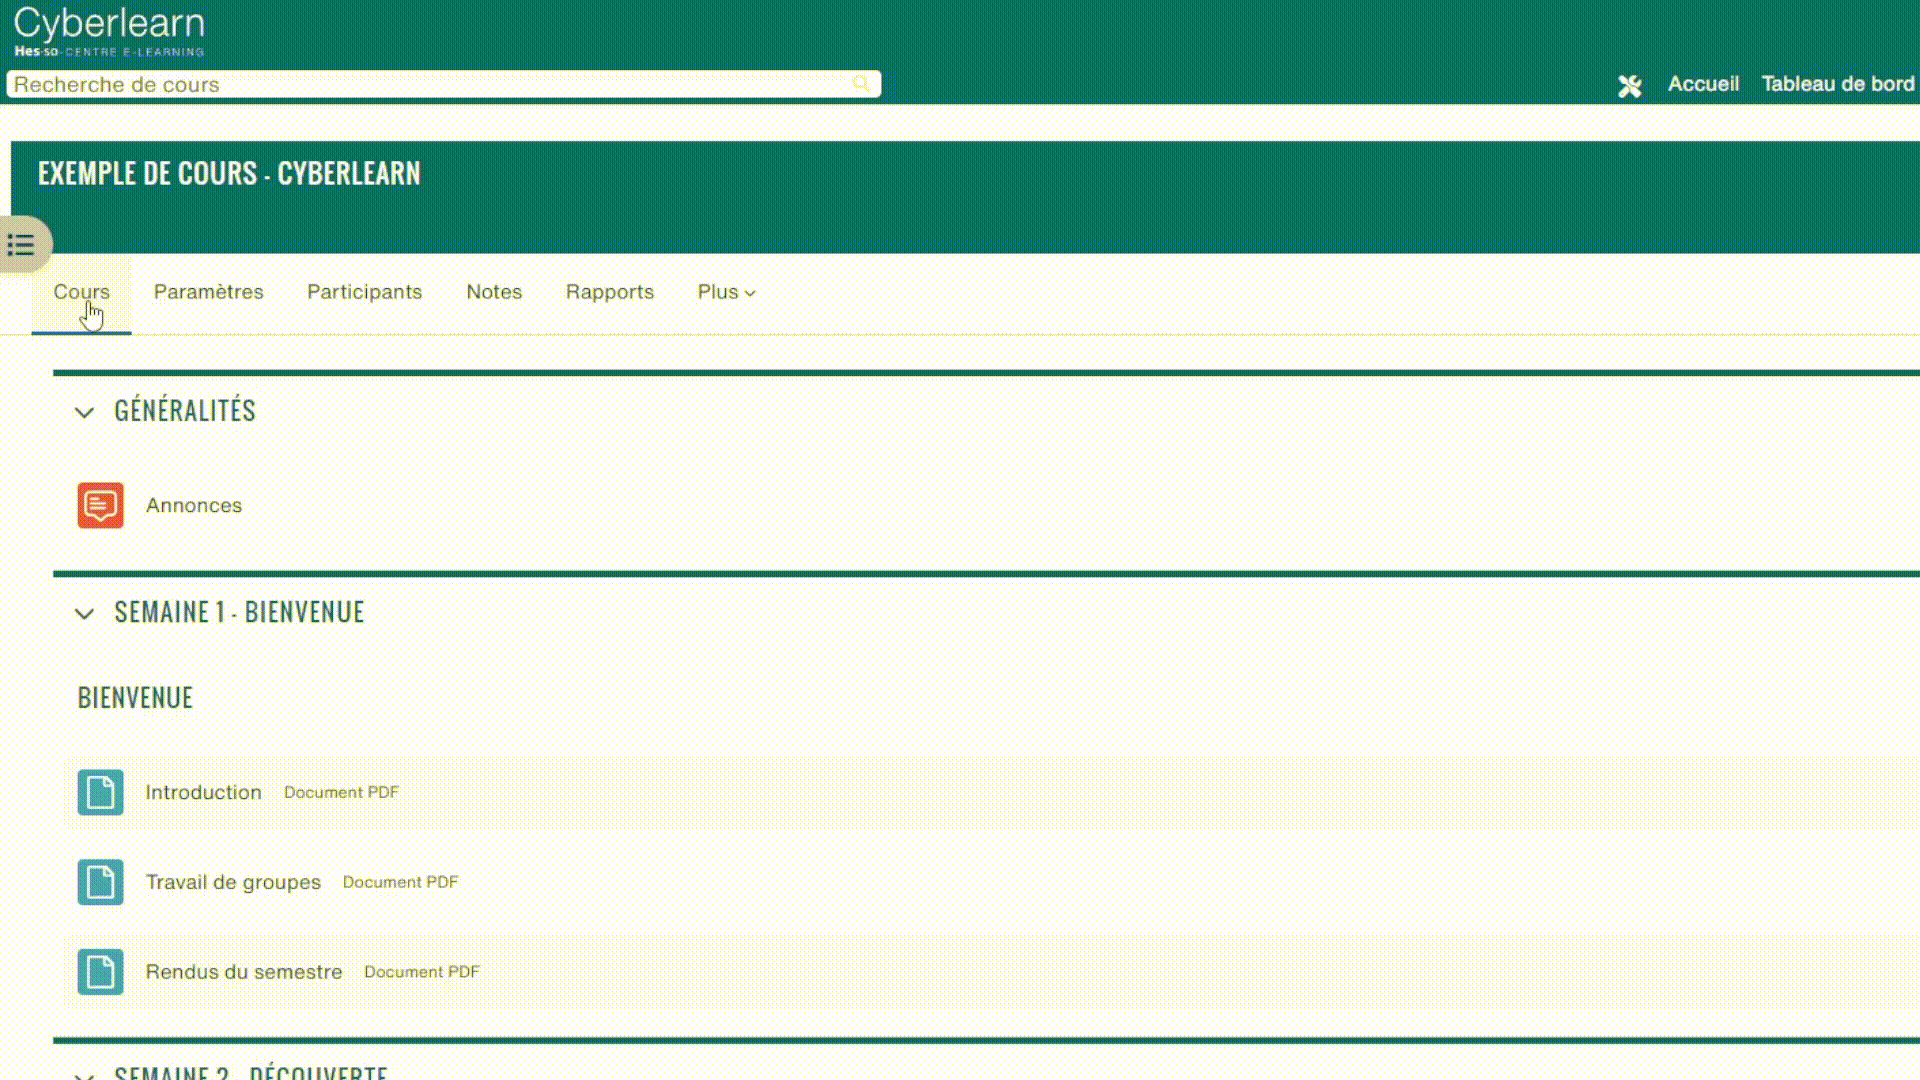
Teachers can choose from a wide range of course formats:
1. Weekly format: the teacher can organize his or her course week by week, with a section for each week.
2. Thematic format: the teacher organizes the course by topic or theme. Each section represents a different theme. This is the default format on Cyberlearn.
3. Single activity format: the teacher can display a single activity or resource (such as a quiz or SCORM package) in the course.
4. Informal format: this format is organized around a main forum, the "Public Forum", which is displayed on the course page.
5. Tile format: this new course format displays course sections as tiles, in a grid format rather than a list. When the student clicks on a tile, the content of the tile (section) is displayed below the tile with an animated transition. Within each tile, activities can also be displayed as sub-tiles. For each tile, the teacher can choose an icon from a predefined set, or upload a background photo.
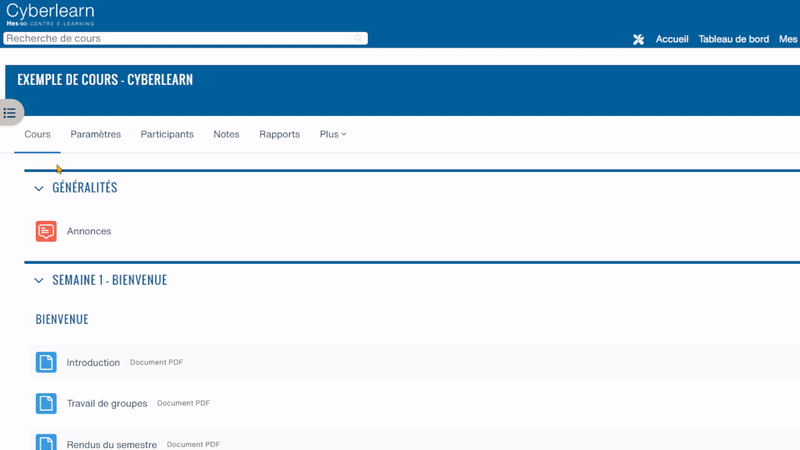
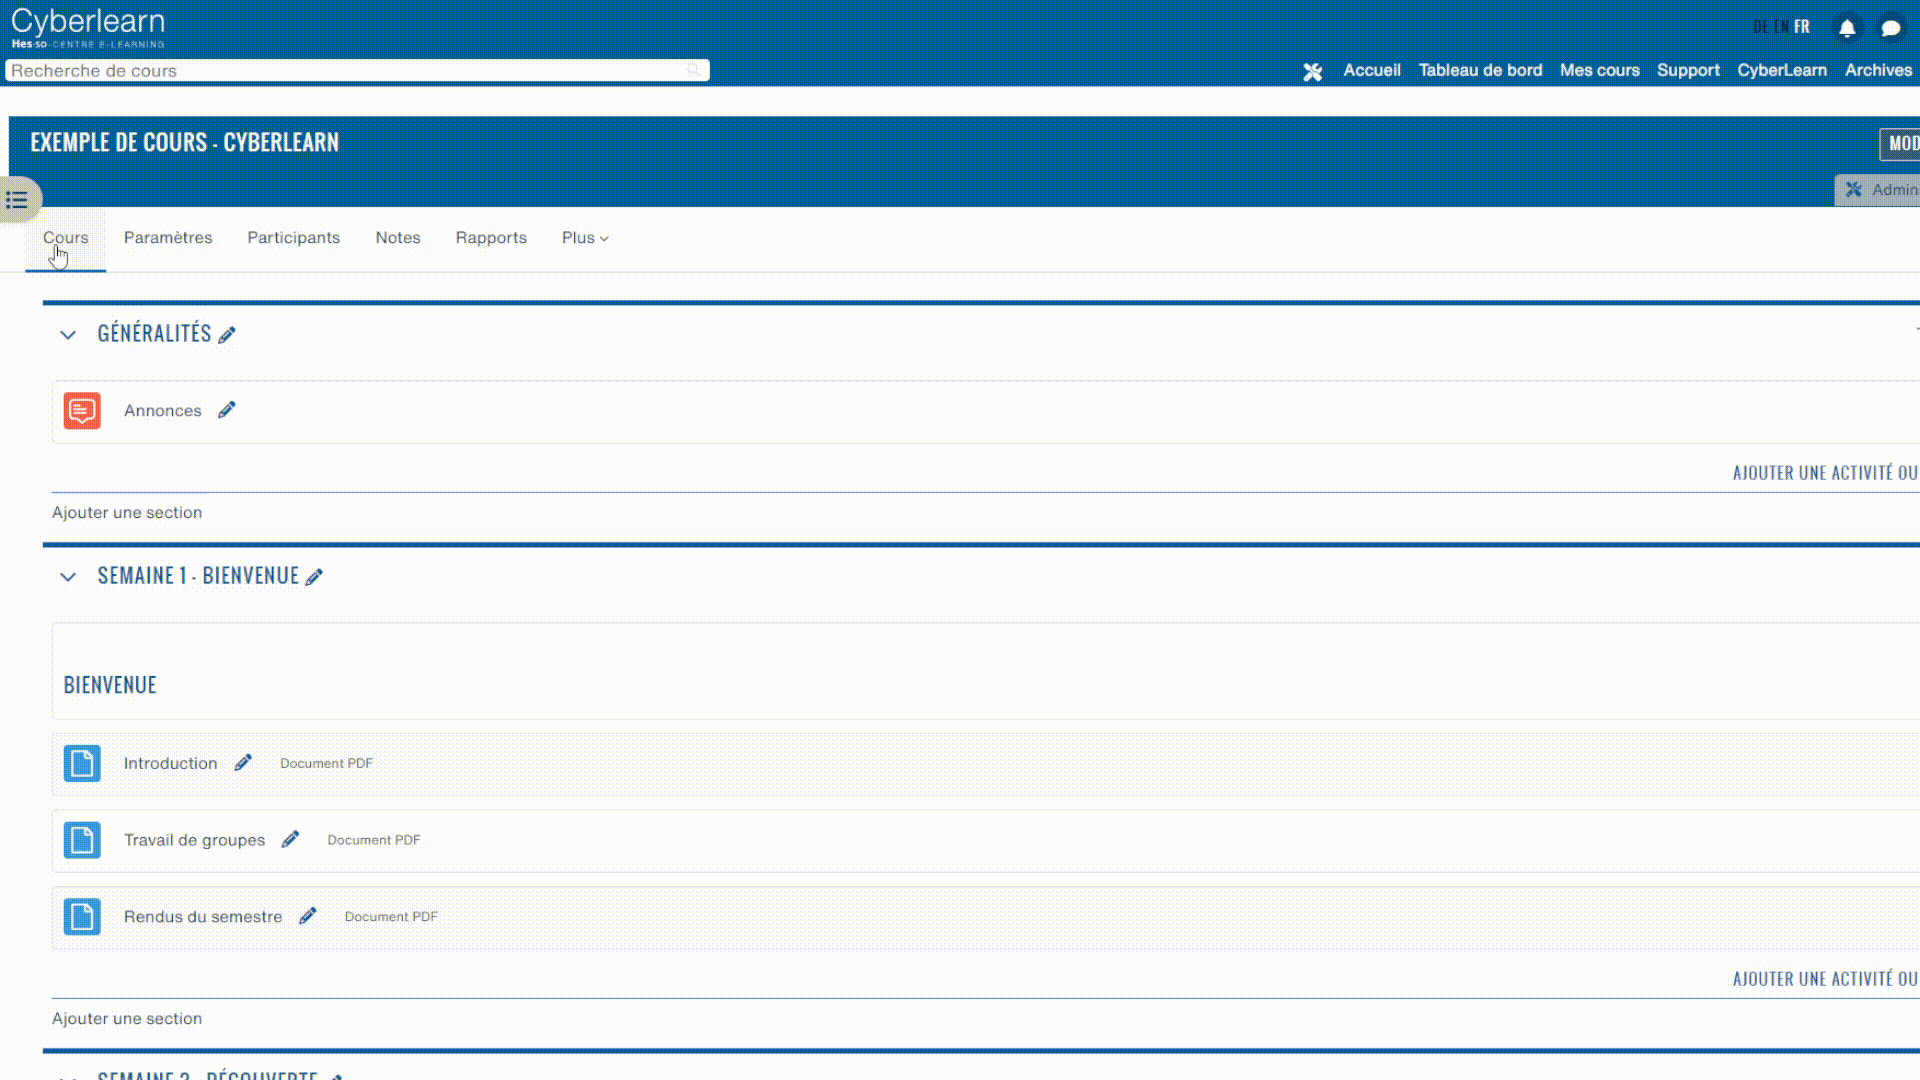
The course space on Cyberlearn can be organized to meet the specific needs of teaching content and students.
Here are a few key points to bear in mind when creating a course space (edit mode must be activated):
1. Course sections: teachers can divide their course into sections (for example, by week or by theme) to organize course material. Each section can contain learning resources, activities, forums, quizzes and more.
2. Order of activities: teachers can define the order in which students access activities and resources, creating a structured learning path.
3. Student groups: teachers can create student groups to facilitate collaborative work and personalize the learning experience.
4. Content visibility: teachers can quickly hide an activity/resource/section by clicking on the three small dots to the right of the activity/resource/section in question, then clicking on Hide.
5. Access restrictions: the teacher can define access restrictions for certain activities/resources/sections, for example to make them available after a certain date.
The grade book is made up of grade elements collected from several assessments of a Cyberlearn course space.
For the teacher, it allows grades to be examined/edited and organized into categories, so that totals can be calculated in a variety of ways.
For students, it allows them to consult all the results of the various graded activities in a course area.
When the teacher adds an assessment, the gradebook synchronizes with it.
Cyberlearn badges are digital awards that recognize students' achievements and skills. They can be used to motivate student commitment, participation and performance.
A course badge is awarded to students for specific achievements within a course, such as the completion of an activity or set of activities.
Badges can be personalized with specific criteria:
1. Manual assignment: the teacher can manually assign a badge to one or more students.
2. Course completion: the teacher defines the badge award according to the course completion criteria. These criteria can be found under the More > Course completion tab.
3. Activity completion: the teacher defines the badge allocation according to completed and/or successful activities in the course area concerned.
4. Badges issued: a badge can be issued after several other badges have been obtained.
Students can view and share their badges in their Cyberlearn profile.
For teachers
By default, your course space is given a course image (coloured rectangle).
To make it easier for students to find your course space in their long list of courses, don't hesitate to change the course image.
Here's how to do it:
- Go to the course in question
- Click on the Settings tab
- Go to the Description > Course image section
- Drag your image into the drop zone or click on the Sheet icon on the left
- Click on Save and display